Let’s Get Messy!
Sensory craft projects for kids
These projects are great for sensory development and getting kids to touch lots of different textures.
Getting messy helps little kids develop their Tactile System and lets them explore the world around them in a new way. For older kids, it lets them practice decision making and pushing boundaries in a safe space. Also, it’s just fun!
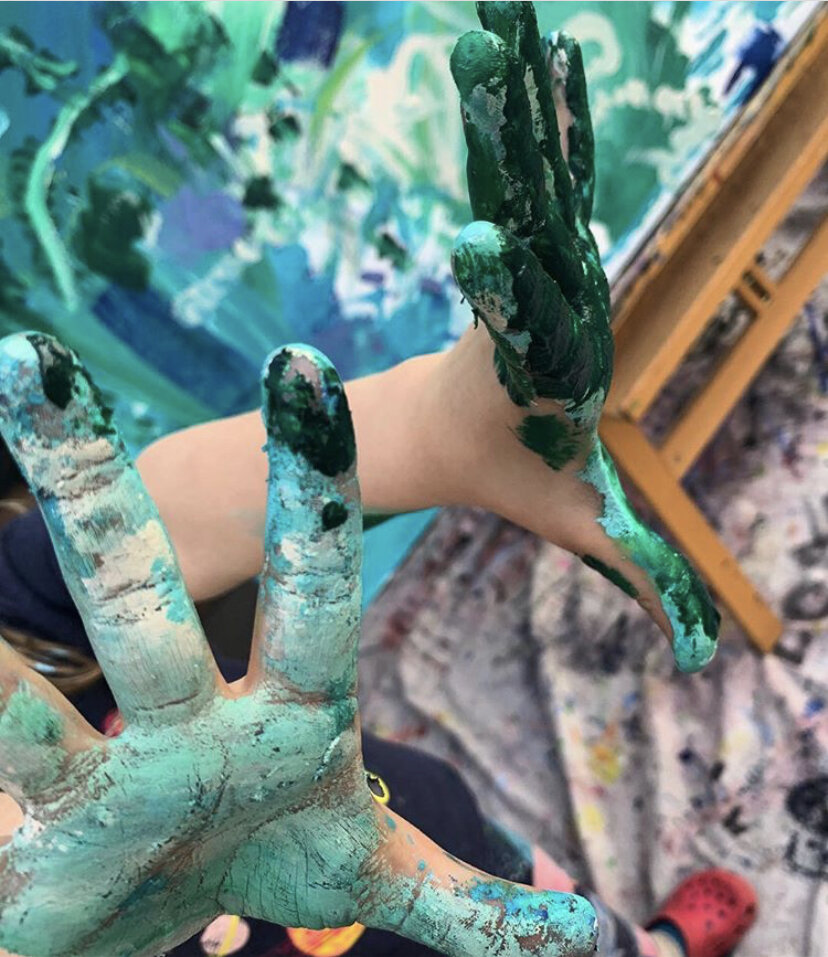
Finger Painting
Use kids finger paint, tempera paint (which is washable unlike acrylic paint), or DIY finger paint, and let little ones go wild! Got bigger kids? Challenge them to a “no brush” challenge and get them to reconnect to their finger painting days, or read below about painting with nontraditional “brushes”
Tips for minimizing mess + maximizing impact
Use a smock- At Paint Love, we love using old button up shirts - with sleeves rolled up, worn backwards and buttoned up the back (or for little ones at home, just strip them down and plan for bath time after!)
Use a drop cloth on the floor- designate any old piece of fabric (a sheet, plastic shower curtain, etc.) as your art-time drop cloth. You can even make a little ritual of getting your space set up and cleaning it up when you’re done with art time.
Put a small amounts of paint in something they can’t spill (like a sturdy metal muffin tin, or on a piece of wax paper that is taped down)
Tape the paper down
Use a limited number of colors: try all cool colors (like green, blue, purple) or all warm colors (like red, yellow, and orange), or just keep it limited to a few primary colors or ones that compliment each other like yellow, green, and blue- otherwise you’ll inevitably get a lot of brown, which isn’t bad, but if you want a “pretty” mess, only give a few options.
Know when to take the paper away (and give them a new one!) We work with a LOT of kids and while we always focus on the process over the product, it can be frustrating for caregivers and older kids alike when every piece turns into a brown mushy mess. Taking a painting project away from a child before it turns into a puddle is the number one key to getting that piece you want to hang on the fridge.
Looking for something new?
Paint on a new surface
Trade your paper for something crazy! Try these and then experiment and see what else you can find around to paint on and how it feels.
Tin foil
With older kids, try “reverse painting” through an abstraction method covering the entire page with a thin layer of paint and then using Q tips to “paint” by removing color
Wax paper
Textured paper (like homemade paper)
Vertically: Try painting (or drawing) on a vertical surface by taping a big sheet of paper to the wall (this is especially good development for fine motor and grip skills for little ones preparing to learn to write)
Upside down: Tape paper under the table or under a chair (cover it in newspaper first if you’re worried about mess). For older kids: Talk about how Michelangelo painted the Sistine Chapel upside down! More resources.
Paint using a new tool
Don’t use a brush!
Brainstorm a plan together: What do you think would make a good paintbrush? Why? What do these things have in common? What do you think would make a lousy paint brush? Why? Where should we go to find some things we can test?
Take a scavenger hunt through the house- maybe even venture outside! Bring a basket or bag and collect items your child wants to try painting with (as long as they can be washed and are approved by you!)
Try: Q-tips, foil, a fork, cotton balls, pieces of sponge, bubble wrap, leaves, flowers, carrot tops, a comb, plastic toys (like cars/trucks whose wheels might make fun prints), string, produce bags with lots of texture, tp tubes, etc.
Make your own potato stamps! Letting little kids just watch or with careful supervision for older kids, cut a simple shape out of a potato to create a custom stamp. Try other food stamps- citrus has a distinct pattern, and a bunch of celery chopped close to the base makes a neat flower. What else can you come up with?
Make your own play dough
Supplies
4 cups water
4 Tablespoons oil
Food coloring
4 cups flour
2 cups salt
8 tea spoons cream of tarter
Directions
Mix the dry ingredients together in a big pot
Add the wet ingredients
Cook over medium/low heat, stirring constantly
When your mixture is stuff and difficult to stir, turn it onto a table and knead it until it become elastic
Store in an airtight container or plastic bag. Do not refrigerate.
Activities
Make different shapes (snakes, balls, squares) good for shape identification and fine motor skills
Trace letters with play-dough: write out large capital letters and have younger ones put pieces of dough along the lines- can also be done with stickers
Create a stop-motion animated video
Here are 39 Play-Dough activities for kids from The Artful Parent
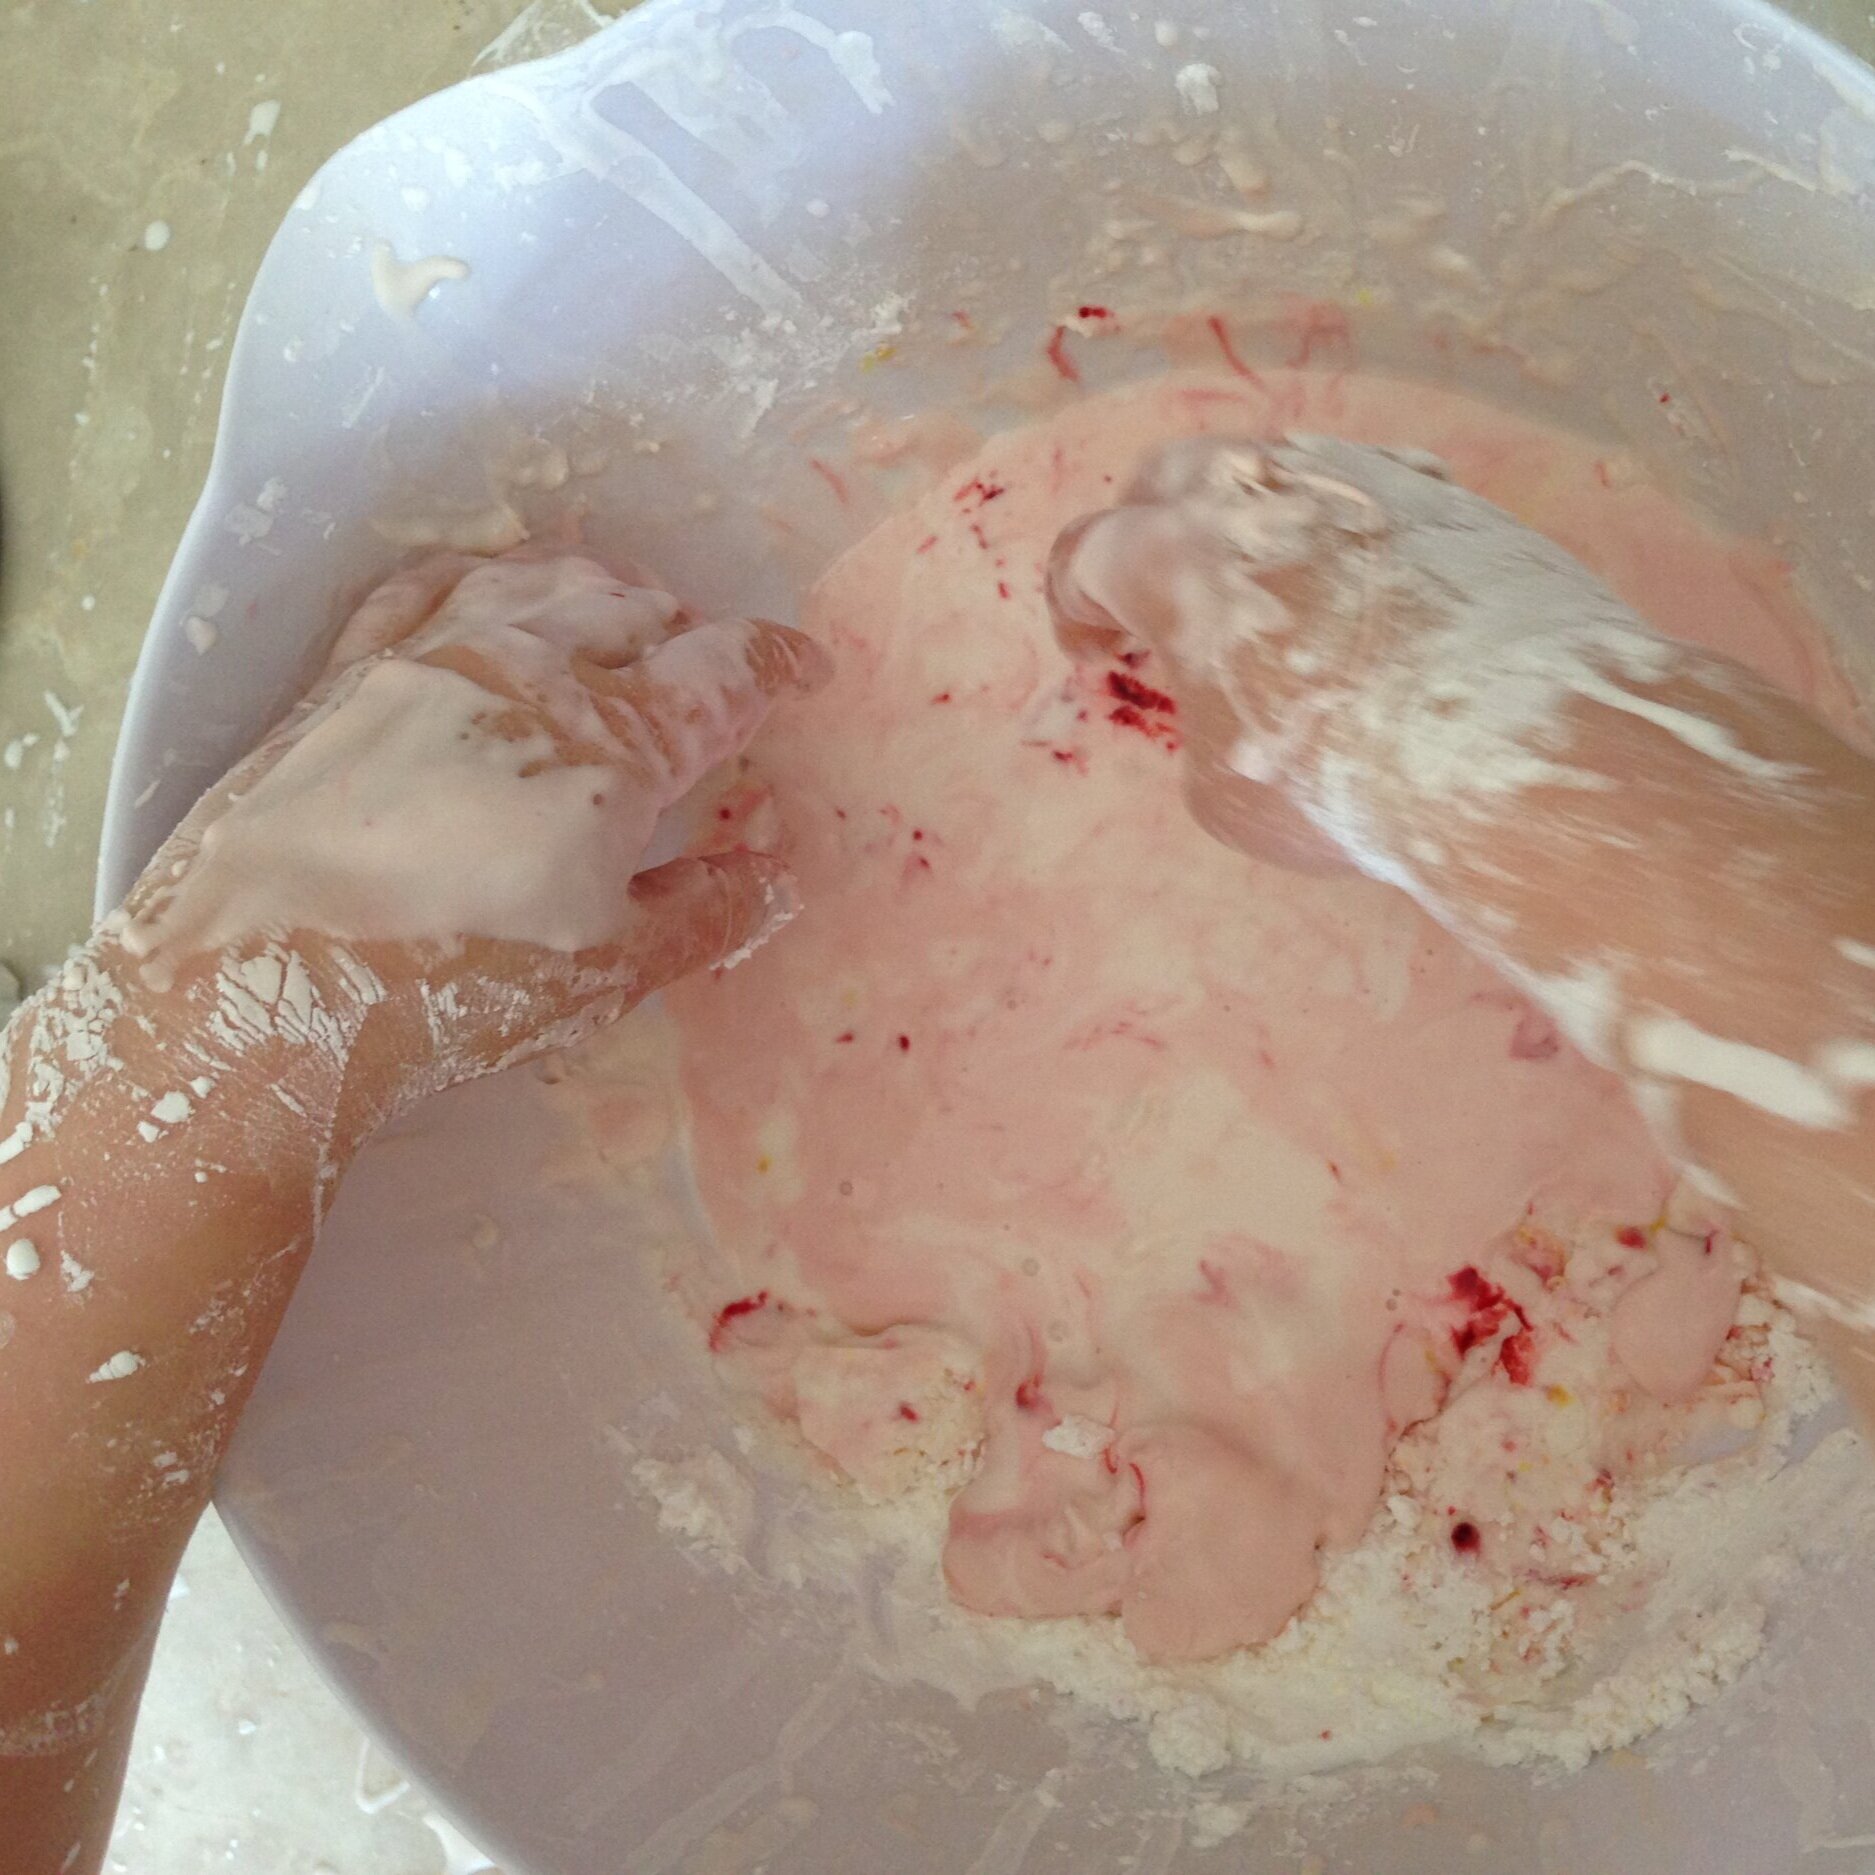
Make your own goo
This is my favorite tried and true goo recipe to make with on-hand ingredients (others require contact solution or Borax). It’s liquid until your touch solidifies it, making it fun for kids and adults alike.
Extra fun if you read Dr. Seuss’ book Bartholomew and the Oobleck along with your goo-creation!
Supplies
2 parts water
1 part corn starch
Food coloring or liquid water color paint (optional)
Directions
Start with one cup of cornstarch and half a cup of water. Let kids do the measuring and dumping on their own. Their patience might surprise you!
Try pouring and mixing the mixture using bowls, spoons, maybe even a cookie tray!
Add just a few drops of color once everything is mixed and watch the colors swirl together!
To mitigate mess, consider using a big bin or lid from an under-bed box as a base.
If you want a different consistency, or just to try something else, try making this more solid gak/flubber or fluffy slime from Tinker Lab!
Keep creating!
Looking for more messy projects?
Art teacher Lauren Phillips shares some of her favorite kid’s projects
Looking for something a little neater for now?
School social worker Mandy Goodwin shares some of her favorite online resources


